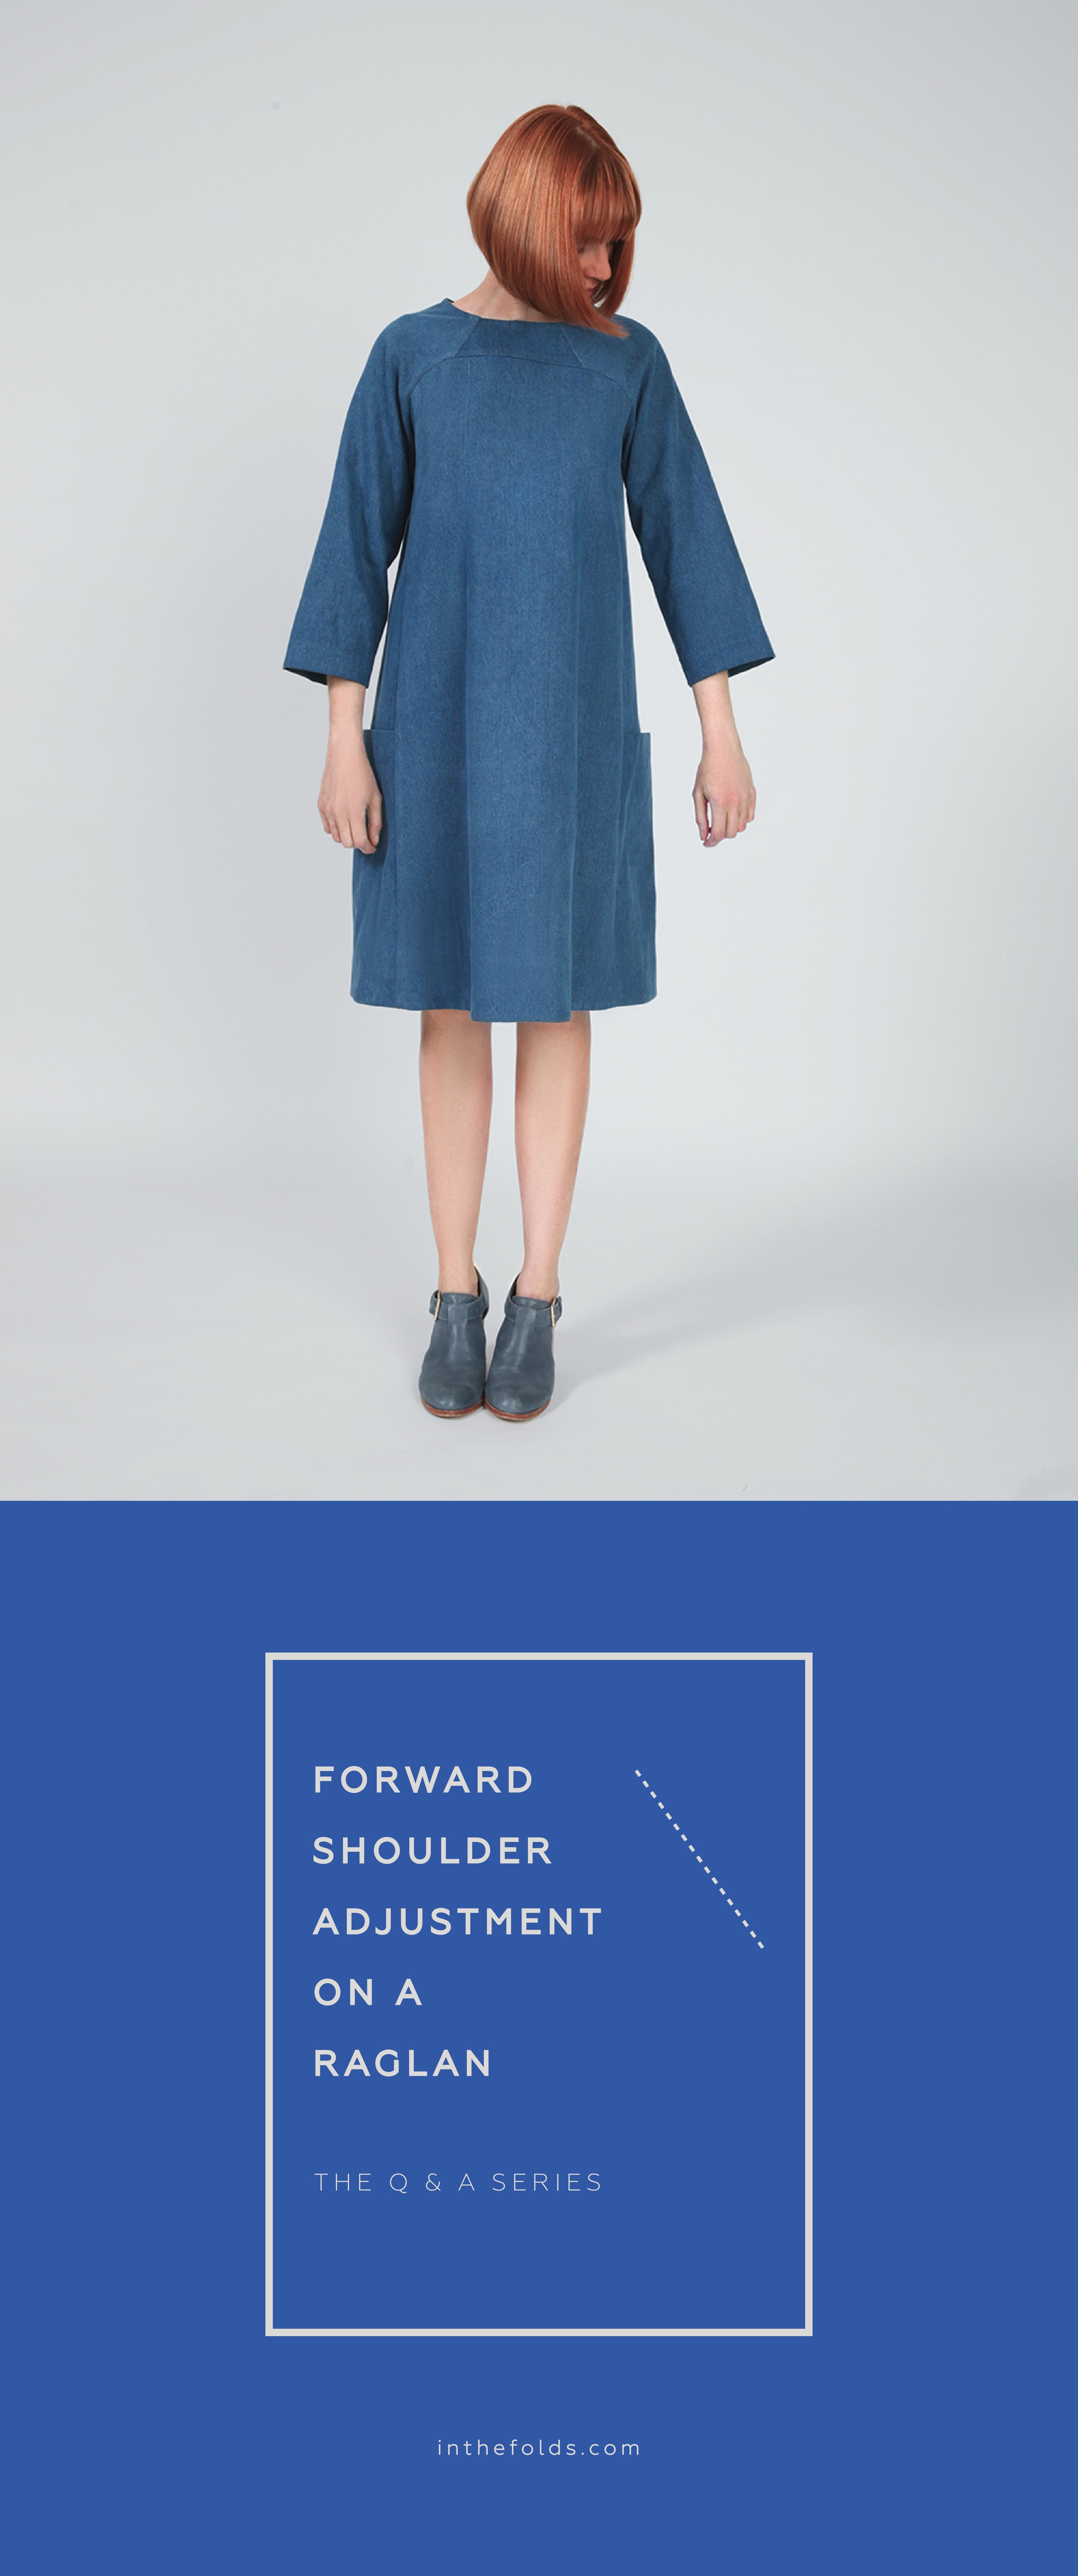
THE Q & A SERIES
Fabric recommendations for the Flynn jacket
Hi there,
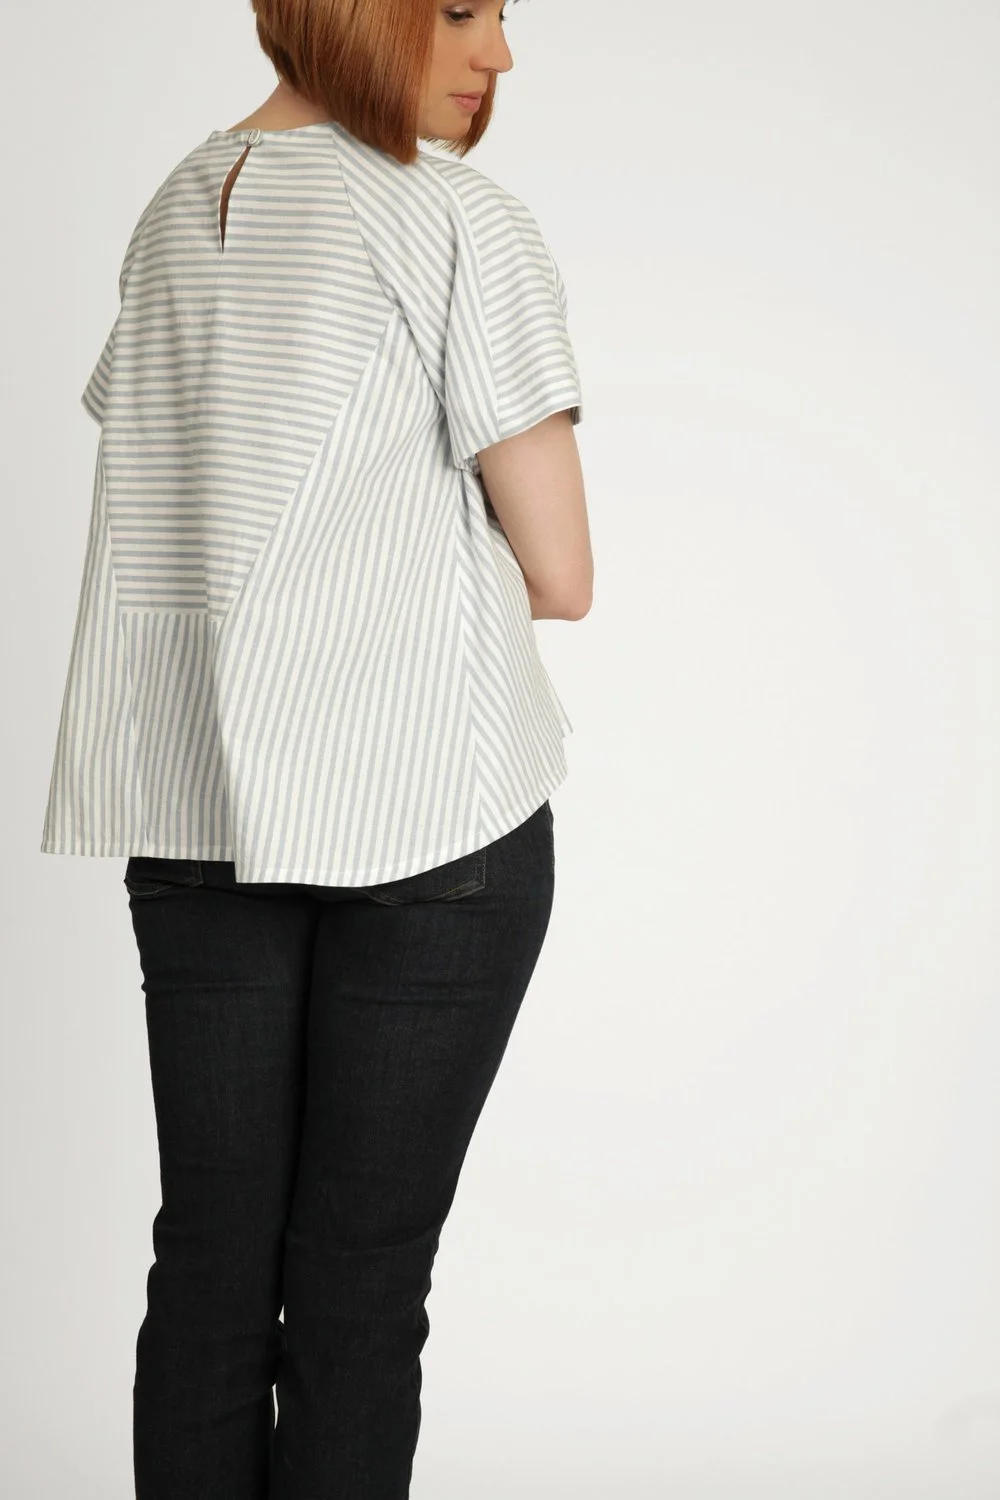
Love your Flynn jacket pattern, I am looking into purchasing it. I did want to know what kind of fabric weight would you recommend for the pattern? Also what fabric are you using in the pictures for the green and the blueish gray jacket? Would love your help in that regard. Thank you so much.
Ambreen
Hi Ambreen,
I'm thrilled to hear that you'd like to give the Flynn jacket pattern a go!

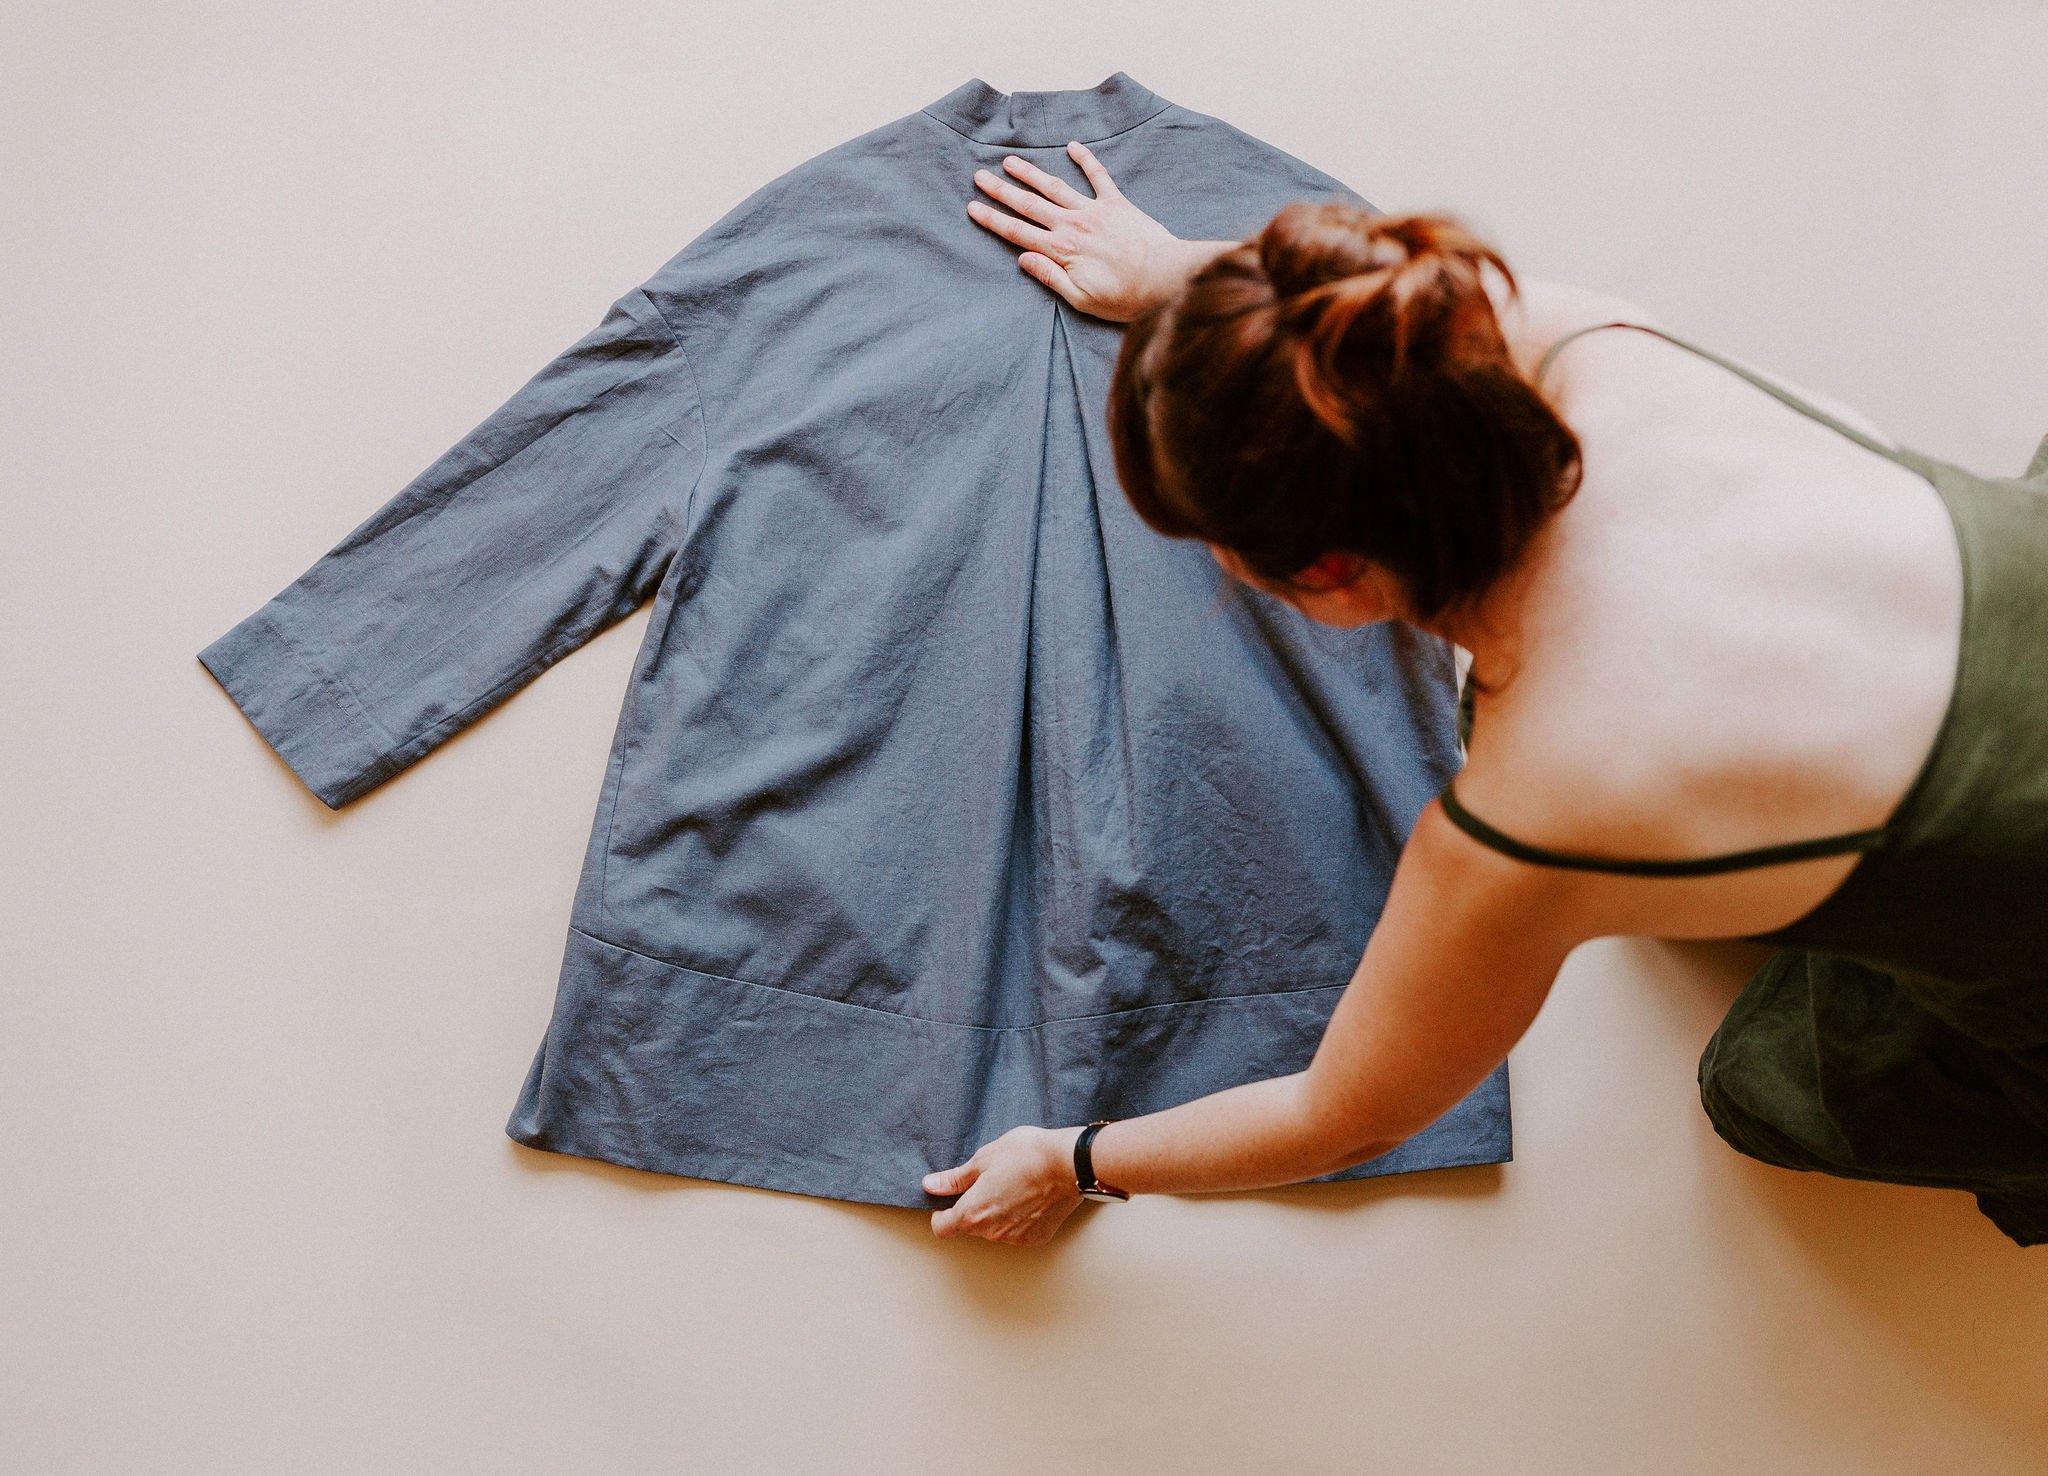
I suggest bottom-weight fabrics such as: denim, cottons like canvas, duckcloth and drill, and heavyweight linens. In the photos, the green is a brushed cotton drill and the grey is a heavyweight linen. You want a fabric that will support the shape, but won’t be overly boxy or stiff. I once made it in a lightweight wool and wasn’t happy with the way the centre front opening hang. If I made it again in a fabric like that, I’d add lightweight fusing strips down the centre front opening to give it a bit more stability.
Happy sewing,
Emily
resources mentioned in this issue
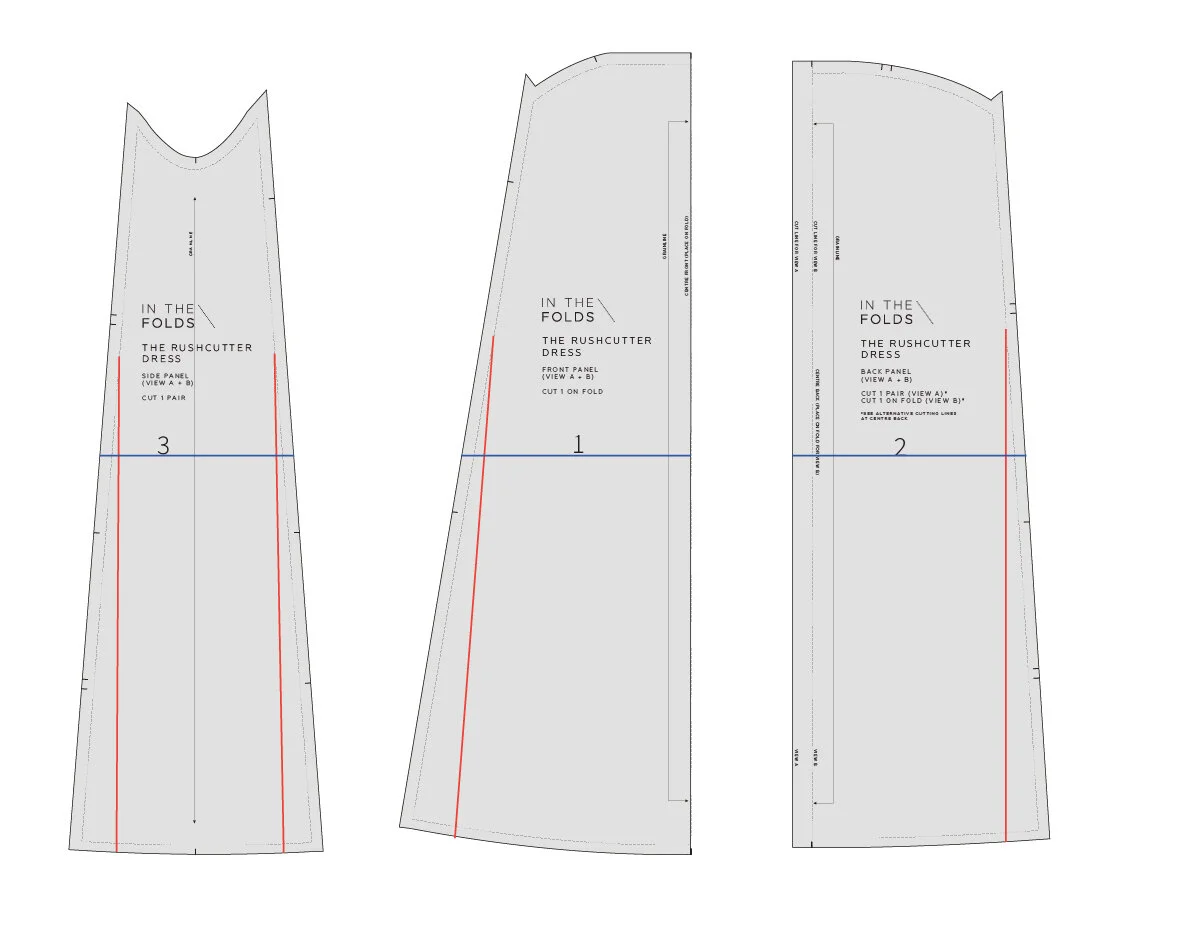
The Flynn jacket pattern - can be found here.
For more issues of the Q & A series, you can check out the archive here.
What you’ve been making

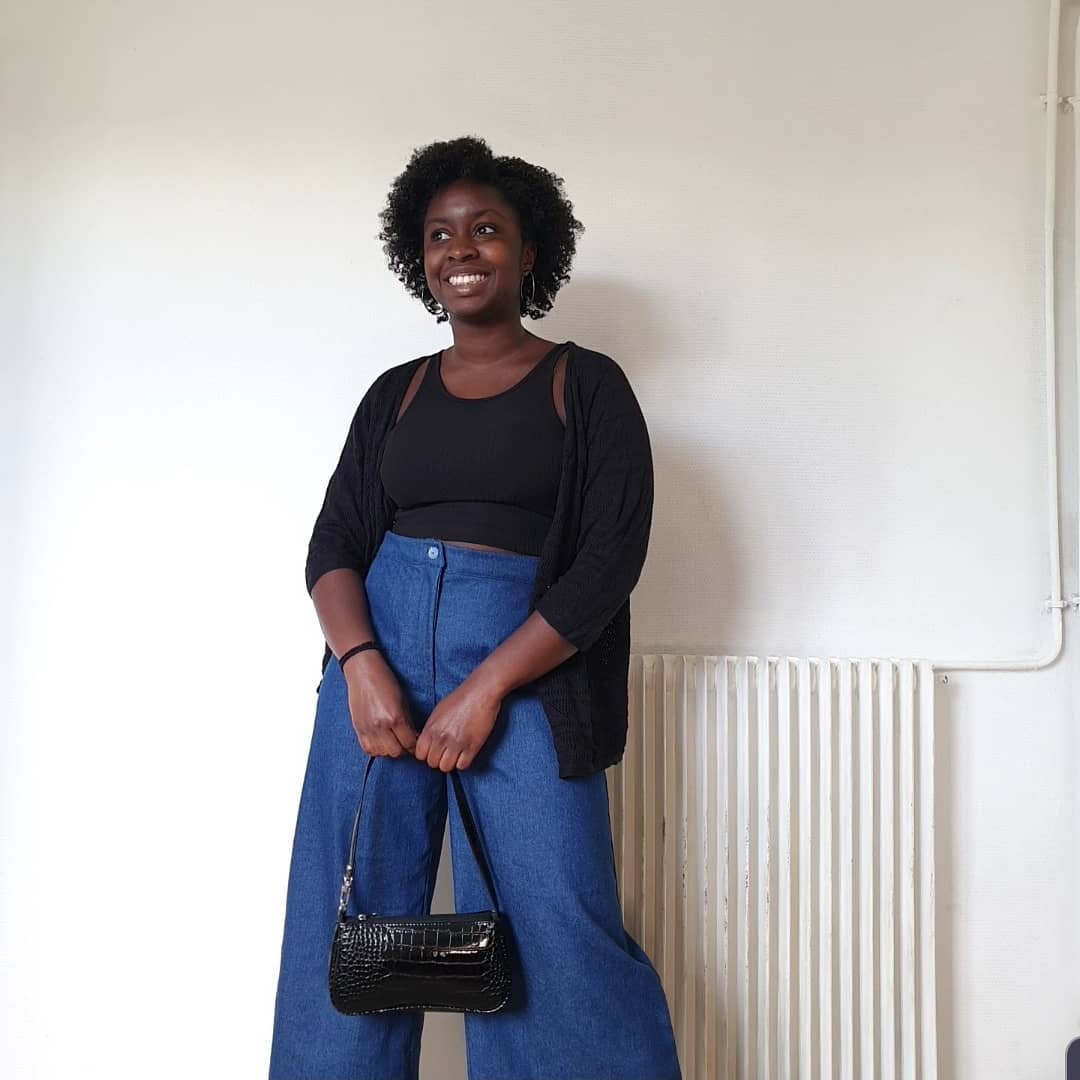
Flynn jacket made by @karenbduling

Flynn jacket made by @fabric_scraps

Flynn jacket made by @sewingwithkate

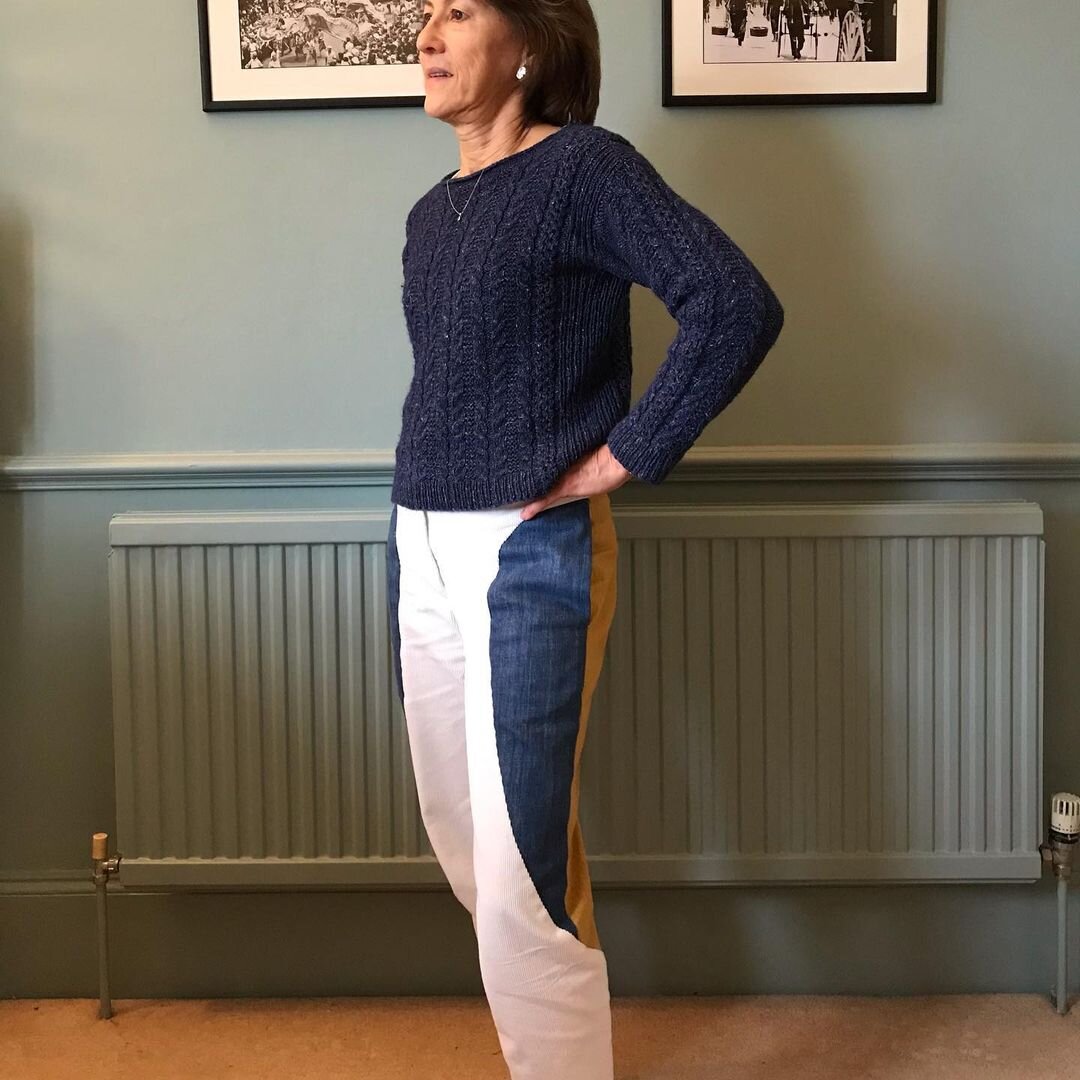
Peppermint wrap top made by @s.is.for.sew